Minimalist To Do List Help
May 25, 2011
How do I edit items on my list?
How can I add a due date or reminder?
How do I mark items as ‘Completed’?
What happens to my completed items?
How do I re-order items on my list?
Can I change the title of my To Do List?
Creating Lists
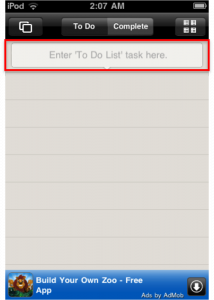 Touch the “Enter ‘To Do List’ task here” box to start adding items to your list.
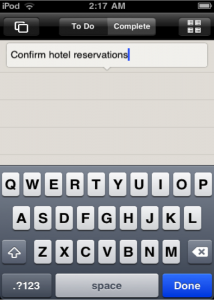 A keyboard screen will appear. Simply type in the task you would like to add, and press DONE.
Editing Items
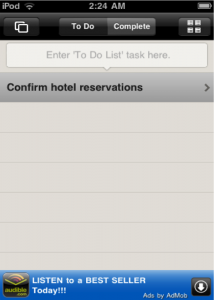 Select the task from the To Do List by tapping on the item.
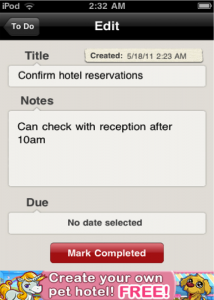 This will open up the Edit screen, where you have the option to edit the title of the item, add a note, assign a due date, or mark the item as “Completed”.
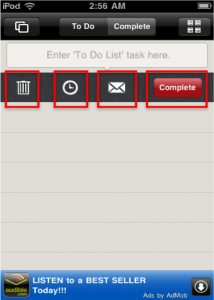 You can also do some manipulation of the task by swiping the item. Swiping the item brings up the following options (within the To Do List screen). You can delete the item, change the due date, email the item, or mark the item as “Complete.”
Adding Due Dates and Reminders
 Select the task from the To Do List by tapping on the item.
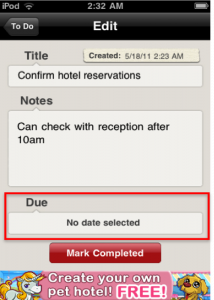 This will open up the Edit screen, where you have the option to assign a due date to your item. Tap on the “Due” field.
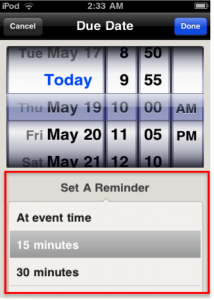 This will open up the Due Date screen. Select the date and time you would like the task to be due. You can also set a reminder, and the app will send you an alert that the task is due. Press DONE when finished.
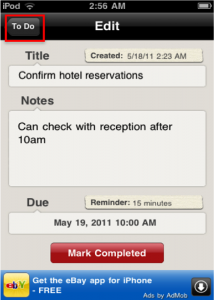 From the Edit screen, press the “To Do” button to return to your list.
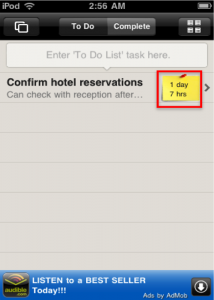 You will see that a sticky has been posted next to the item, indicating how long before the task is due.
Marking Items as ‘Completed’.
 There are a few ways you can mark an item as “Completed.” You can start by tapping on your item from your To Do List.
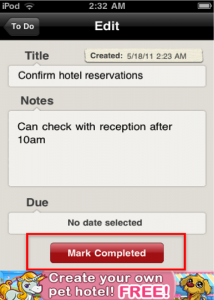 This will bring you to an Edit screen. You can mark your item as “Completed” by tapping the red “Mark Completed” button.
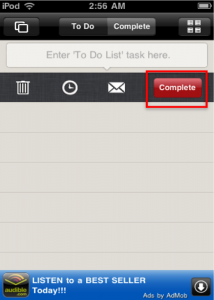 You can also mark an item as “Completed” by swiping the item from your To Do List. Swiping the item will bring up a number of options and buttons, including a red “Complete” button. Tap this button to mark your item as “Completed.”
Completed Items
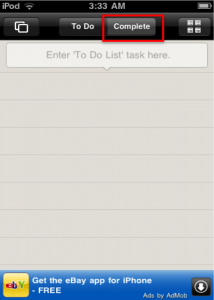 Once you have marked your item as “Completed,” it gets taken off the To Do List and moved to the Complete List. To access this list, touch the “Complete” tab at top.
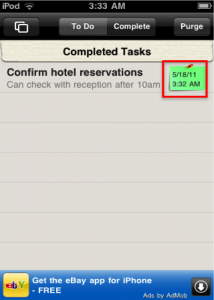 Items are listed under Completed Tasks with a sticky attached, indicating when the item was marked as “Completed”.
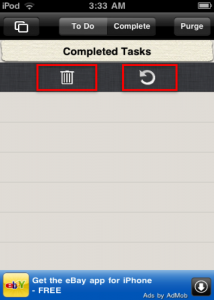 You can swipe the completed task to reveal two options. From here, you can either permanently delete the item (the trash can icon), or restore it to the To Do List (the circular arrow).
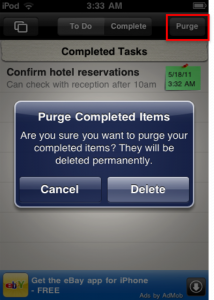 From the Completed Tasks List, you can also purge your completed items. To do this, touch the “Purge” button at top. This will generate a pop-up, asking you to confirm the permanent deletion of the item.
Re-ordering Items on Your List
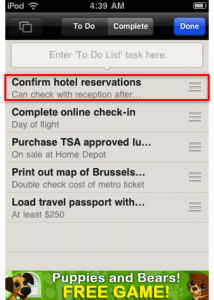 You can manually re-order items right from your To Do List. Simply keep pressing down on an item. Long-pressing will cause the list to enter an edit mode.
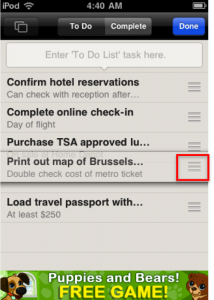 Press down on the three bars at right. This will allow you to drag and re-order the list items. Press DONE when finished.
Editing Titles of Lists
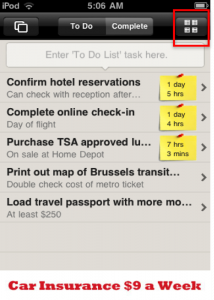 Yes, you can edit the title of your list. To start, simply press the “4 list” button at the top right-hand corner to see a listing of all your To Do Lists.
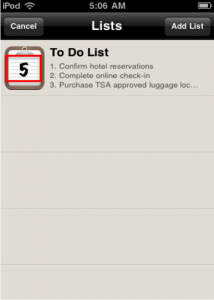 You will see a snapshot of your list (with a number indicating the total number of items on your list). You can edit the title of the list from here. Simply keep pressing down on the list snapshot.
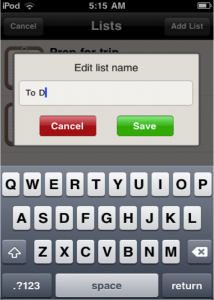 A keyboard window will appear allowing you to edit the list name. Press SAVE when finished.
Managing Multiple Lists
 Yes, you can create and mange multiple lists. To start, simply press the “4 list” button at the top right-hand corner to see a listing of all your To Do Lists.
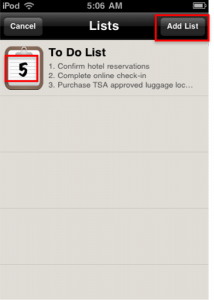 You will see a snapshot of your list (with a number indicating the total number of items on your list). You can add new lists from this screen. Touch the “Add List” button in the top right-hand corner.
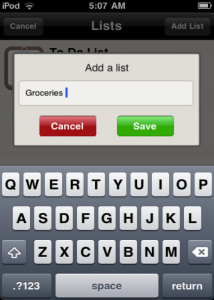 A keyboard will appear for you to name the new list. Press SAVE when finished.
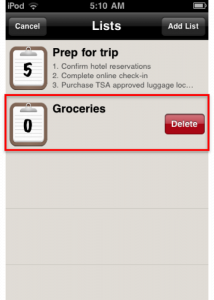 You can tap on the list snapshot to see the full list. Or you can swipe the snapshot to delete the entire list.
Sharing Lists
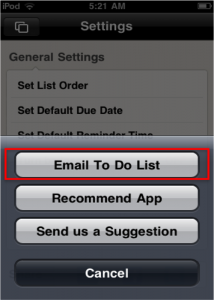
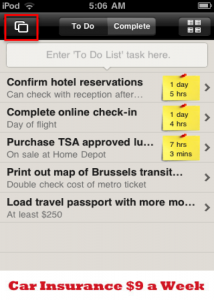 You can share your lists by emailing them to yourself, your friends, family or colleagues. To start, you will need to go to the Settings screen. You can access this screen from your To Do List by pressing the “Double Box” button in the top left-hand corner.
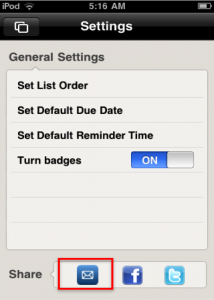 From the Settings screen, touch the envelope icon in the “Share” field.
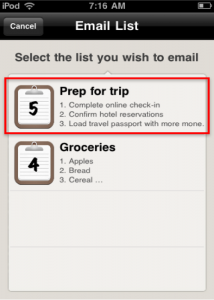 You can only email ONE list at a time. Select the list you would like to send.
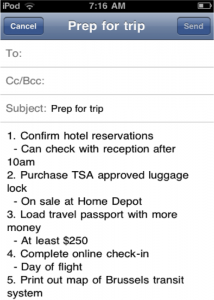 You will be taken to a “Draft Email” screen. Simply enter a recipient (the subject is auto-filled with list title) and press SEND.


